Before-and-After Photos and Reviews: How to Read Comparable Records
How to read before-and-after photos and reviews as comparable records, why shooting conditions and time points need to line up, and how to confirm risks, costs, and follow-up visits that photos never show during your consultation.
Written by ATTITUDE Clinic Editorial Team
Looking at before-and-after photos makes you impatient. You wonder whether you could improve as much as that photo shows, and at the same time whether the side effects you read about in a review could happen to you too. This article explains how to read photos and reviews as comparable records, and how to fill in the risks, costs, and follow-up visits that photos leave out through a consultation.
The bottom line first
Before-and-after photos only work as comparison material when the conditions match. They need to show the same area, in a similar skin condition, at the same time point. If the lighting, angle, distance between the lens and the face, or shooting time differ, it's hard to tell whether a visible difference comes from the procedure or from the conditions. Reviews also tend to be written first by people who are satisfied, so the volume of posted writing doesn't represent the full distribution of experiences. Risks, alternatives, recovery time, and additional costs don't remain in photos, so you confirm them directly at a consultation.
Why do before-and-after photos need matching conditions to be comparable?
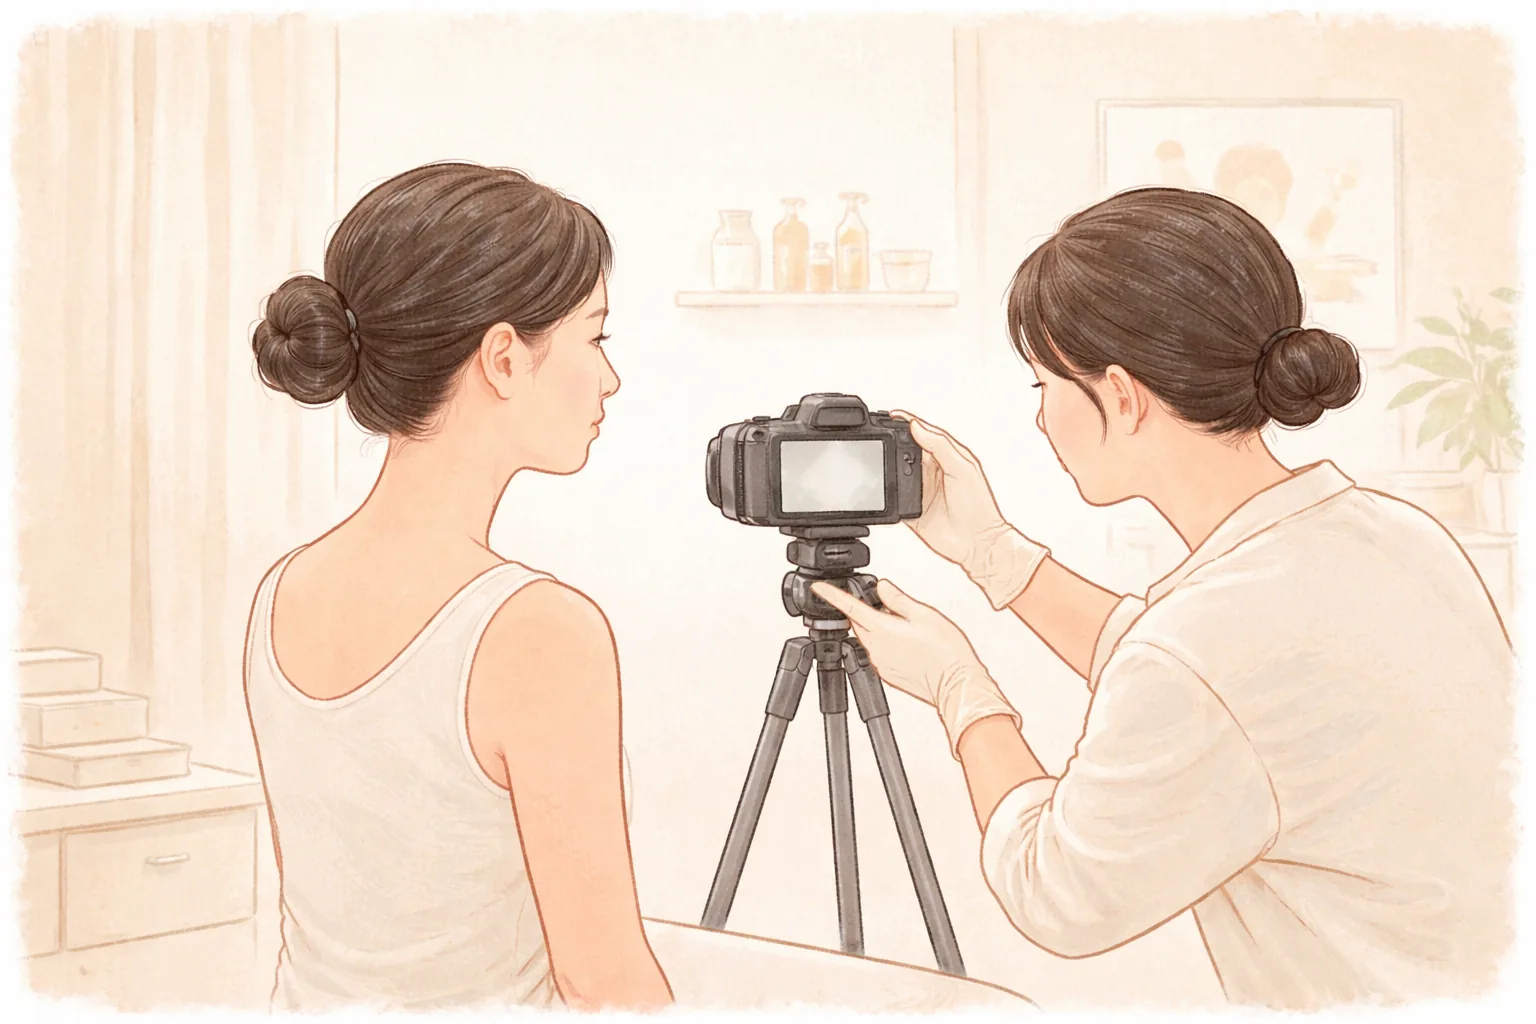
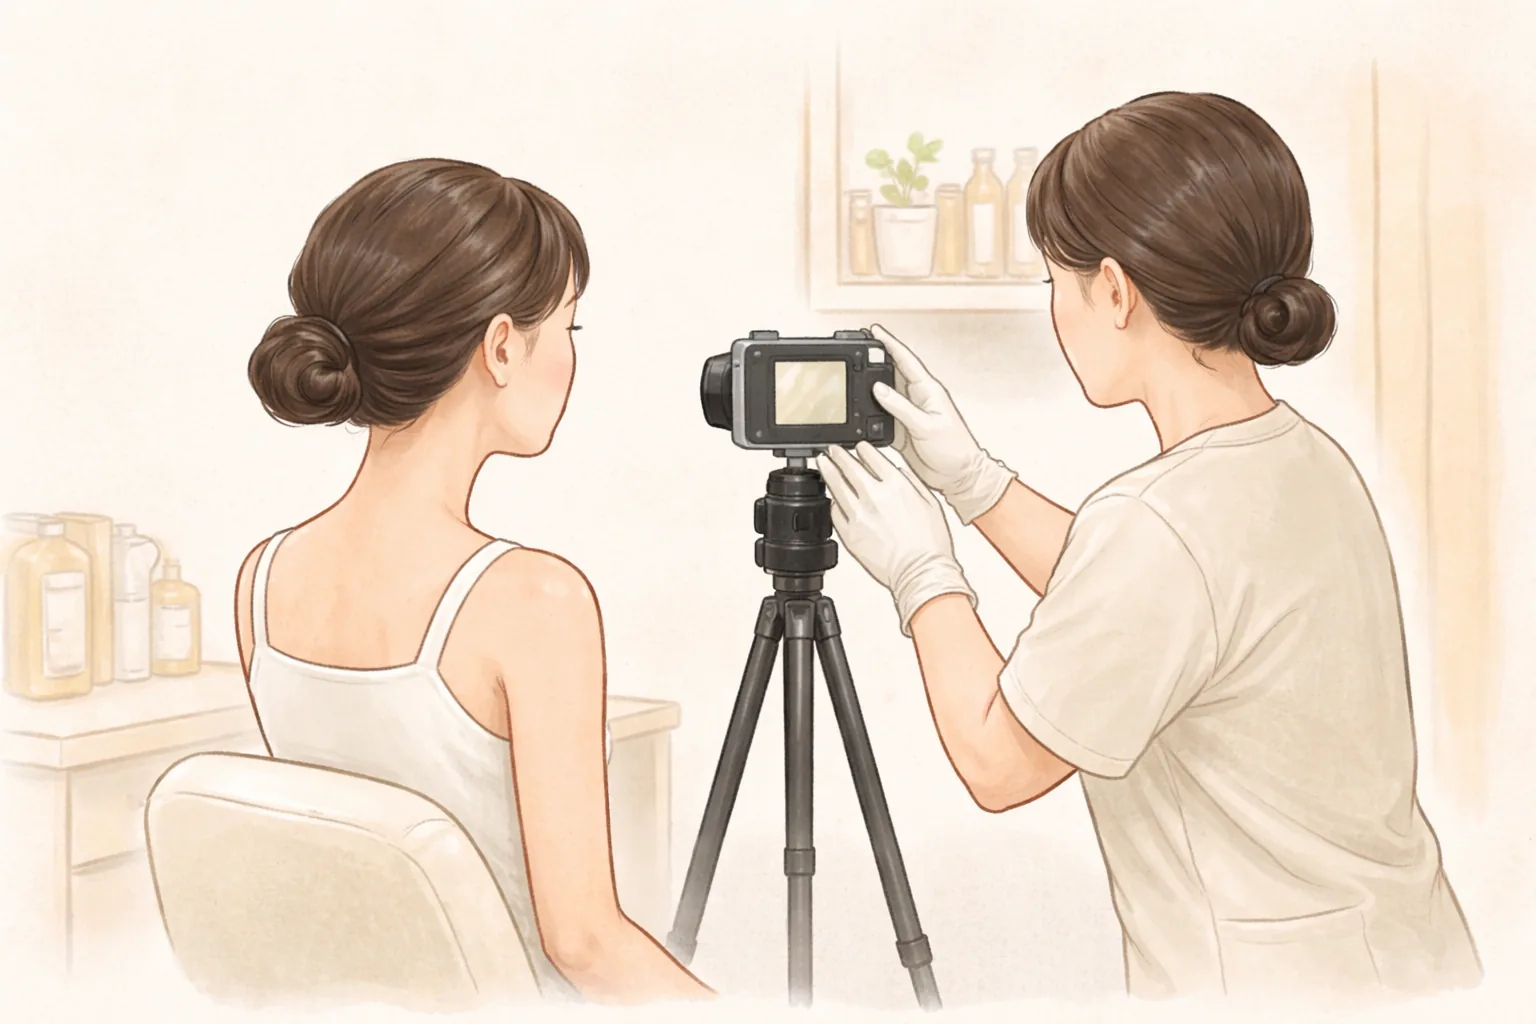
The color of the skin surface looks different when the direction of light changes, even with nothing else altered. Light falling at a slant from the side makes fine wrinkles and unevenness stand out, while soft light spreading from the front makes the same skin look smooth. Holding the camera close to the face changes the proportions of the nose and cheeks, and moving it even slightly farther away makes the facial contour look flat.
The time point carries the same weight. Right after a procedure, swelling and redness are up, so results can look inflated or, on the contrary, puffy, and once recovery is finished the texture looks different. So when you look at a single photo, you look first at when and under what conditions it was taken rather than at whether it turned out well.
The American Academy of Dermatology's patient guidance also points to this. It recommends asking at a consultation to see before-and-after photos of patients with a similar skin tone and skin type. The closer the photo is to your own skin and conditions, the more reference value it has. (AAD guidance)
When you place photos side by side, you check four things. Whether it's the same area, whether the lighting and angle are similar, how many sessions in it was taken, and which point in recovery the photo captures. If even one of these is off, the difference between the two photos becomes a value that mixes the change the procedure made with the change the photography made.
Why do results look different from photo to photo even with the same procedure?
Even with a procedure of the same name, everyone starts from a different baseline. How thick your skin is, how much power it still has to produce collagen on its own (the protein that keeps skin firm), and how active the cells that make pigment are — these are hard to judge in a mirror. Add skin type and regeneration speed to the mix, and even at the same intensity, the size of the response and the timing at which it appears will diverge. (ATTITUDE Clinic column)
Even with the same device name, the depth and the way energy reaches the skin differ. Within lifting alone, Ultherapy uses ultrasound, Thermage FLX and XERF use radiofrequency, and Onda uses microwaves — the principles for delivering heat are different. Which device to use first, how far to raise the intensity, and whether to combine treatments like skin boosters or Potenza are decided according to that person's concerns and recovery margin. (Treatment guide)
The way a procedure is carried out also divides results. Even with the same plan, finely adjusting the intensity for each area and changing the strength while watching the skin's response during the procedure can't be fully covered by a manual. So when comparing photos, you look not only at what was done, but also at how many sessions in it was, what combination was used, and when the photo was taken.
So why do some photos look dramatic? It's common for them to be taken while swelling is still present, or for the lighting to fall favorably. Conversely, even when the treatment effect is genuinely good, a photo taken before recovery has finished can look plain. The impression a photo gives and the result of a procedure don't always move in the same direction.
How far can you rely on reviews and platform information?
Posts left on a board are more likely to be experiences with high satisfaction. A case that went well makes you want to share it with photos, but an experience that ended ambiguously takes time before someone writes about it. That means the order of display or whether an event is running can differ from the actual distribution of experiences.
There's no basis to conclude that a particular review is fake. But it's also hard to say that one or two posts represent an entire procedure. When reading a review, you look together at whether it covers the same area, how much time had passed at the point it was written, how many sessions were done before writing, whether other procedures were combined, and whether there's any mention of side effects or follow-up visits. If those five things aren't stated, it's hard to transfer the experience directly to your own situation.
The criteria for choosing a clinic are similar. Rather than a post that just lists procedure names and prices, a record of what was asked at the consultation and what answers were given helps your judgment. How a review deals with the practitioner's experience and how risks were explained is also a point to watch.
What photos leave out — risk, cost, follow-up visits
Photos show only the result. The swelling and bruising on the way to that result, the degree of pain, the time recovery took, and the follow-up schedule are outside the frame.
Table 1 What photos leave out — risk, cost, follow-up visits
Item to check
What you can see in a photo
What doesn't remain in a photo
What to confirm at a consultation
Result
Surface changes and contour
Individual variation and how long it lasts
The range and limits you can expect
Risk
Visible traces
The course of swelling, bruising, tenderness
The risks of this procedure and alternatives
Sessions and intervals
How many sessions (if stated)
The interval between sessions and why it was adjusted
How many sessions to the goal, and at what interval
Recovery
The state at the time of shooting
When you return to daily life
When exercise and work become possible
Cost
Nothing
The total and any additional conditions
Amounts by procedure, volume, and sessions, plus VAT
Swipe sideways to see the whole table.
In short before-and-after photos are useful reference when read with matching conditions, and reviews help when read with the distribution in mind. Risk, recovery, cost, and the follow-up visit plan are information to fill in at a consultation, not from photos.
If this sounds like your situation
When a wedding or a shoot is coming up
If the date is fixed, recovery time becomes the standard. Count backward from the event to set the treatment date and leave generous room for swelling and redness to settle. When you keep comparison photos, shooting under the same lighting and from the same angle makes later judgment easier.
When you want to build a record through steady maintenance
Shooting periodically under the same lighting, angle, and distance lets you compare changes over time. If you also note the treatment date, session number, device used, volume, and the response at the time, that becomes material for judgment at your next consultation. Bringing your previous treatment records helps the doctor review them and set the next direction. (ATTITUDE Clinic column)
When your skin is sensitive or prone to redness
Even at the same intensity, the response can be large, so intensity and intervals are set differently. If redness and swelling tend to last, leave ample intervals between sessions and don't bunch high-irritation combinations into one visit. When reading reviews, also look for whether there are cases of skin that became red.
When you're an overseas visitor on a short stay
If your schedule is short, procedures with long recovery are a stretch. Telling the clinic your stay and departure date first narrows down what's possible. Consultation booking requests and confirmations are different, and a booking is confirmed after the clinic contacts you to confirm, so apply with enough room given your departure date. (Consultation booking guide)
Please tell us before your consultation Recent UV exposure (outdoor activity, travel, tanning), medications you're taking, ingredients you apply to your skin (retinol, acids, and so on), previous treatment history and how you responded then, and any date-fixed events like a wedding or a shoot. It also helps to tell us about pregnancy or breastfeeding, and any allergic reactions.
How ATTITUDE Clinic handles this
AI skin analysis record — Your skin condition is recorded and organized so you and the doctor look at the same information together. The analysis tool only records and organizes information and does not make a medical diagnosis; judgment is made by the doctor.
Doctor consultation — Your concerns, lifestyle habits, and previous treatment experience are added to the analysis record to decide together what's needed and what isn't, and what combination, order, and intensity to use. Questions that came up from photos and reviews are also turned into questions and confirmed here.
Treatment performed by the doctor — The doctor performs the plan set at the consultation and adjusts intensity while watching the skin's response during the procedure. This flow is meant to keep the design and the execution from diverging.
Recovery and maintenance — Your progress after the procedure is checked and the next interval is set. Recording the device, volume, date, and response of previous treatments gives you a comparison standard when planning later ones. (ATTITUDE Clinic column)
The devices covered under this topic include lifting options such as Ultherapy, Thermage FLX, XERF, Shurink Universe, and Onda; pore and scar options such as Potenza and erbium fractional laser; and pigment and redness options such as Pico toning, laser toning, and Vbeam. Prices are disclosed separately by procedure, product, area, volume, and number of sessions, and all amounts are shown VAT excluded. (Treatment guide)
Aftercare and side effects
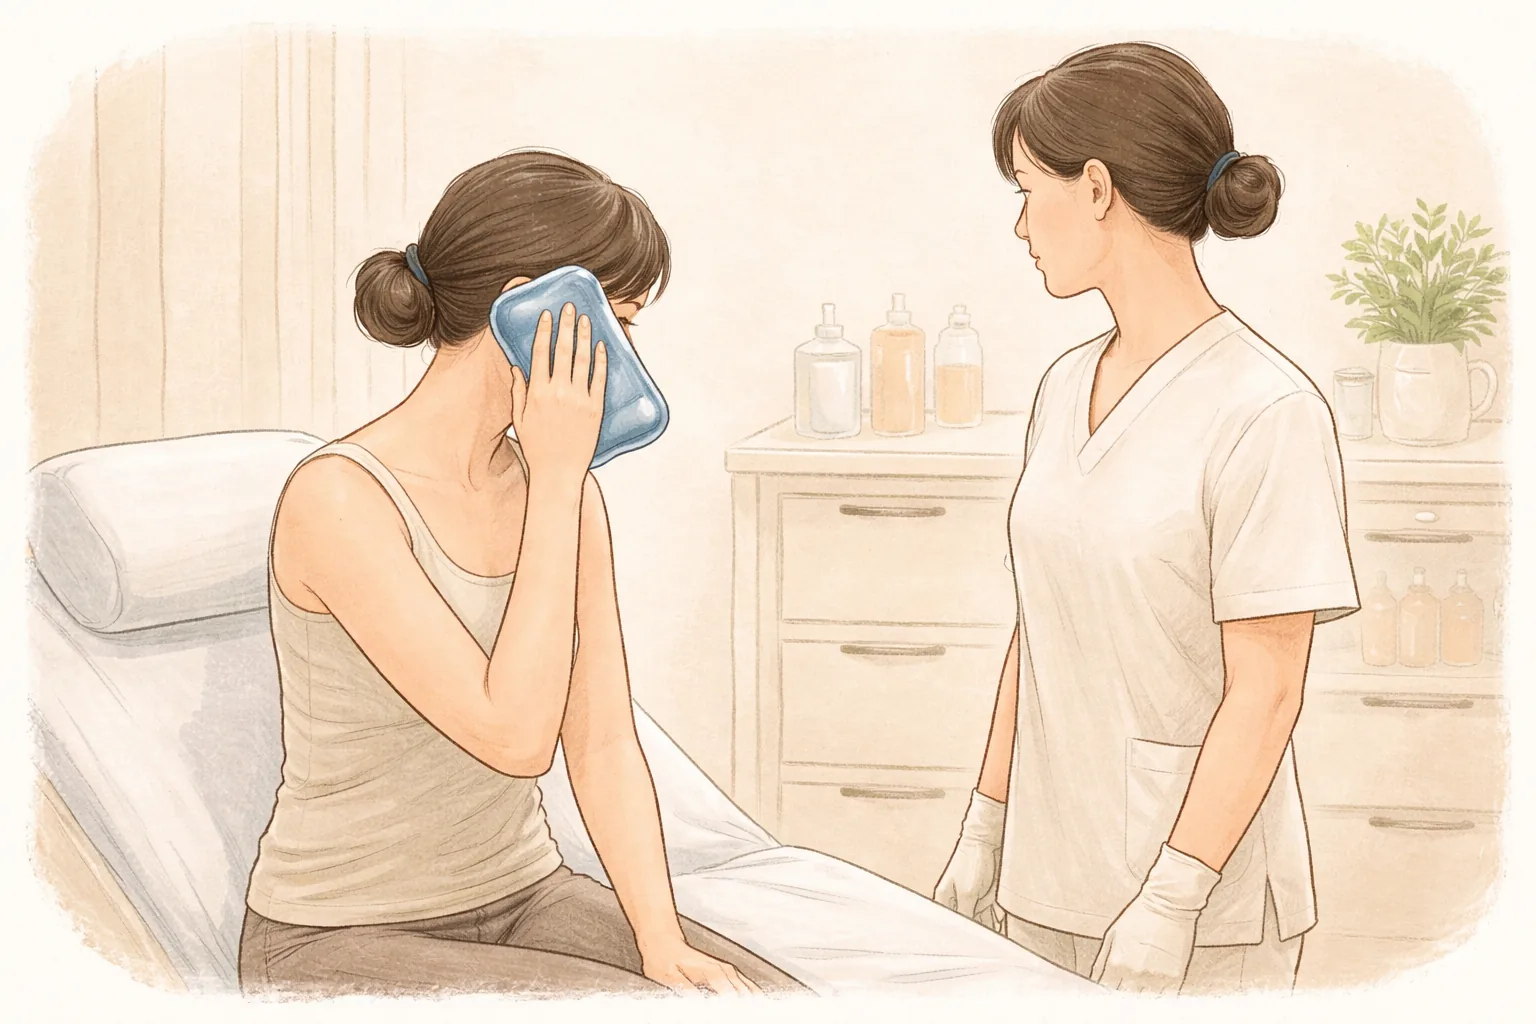
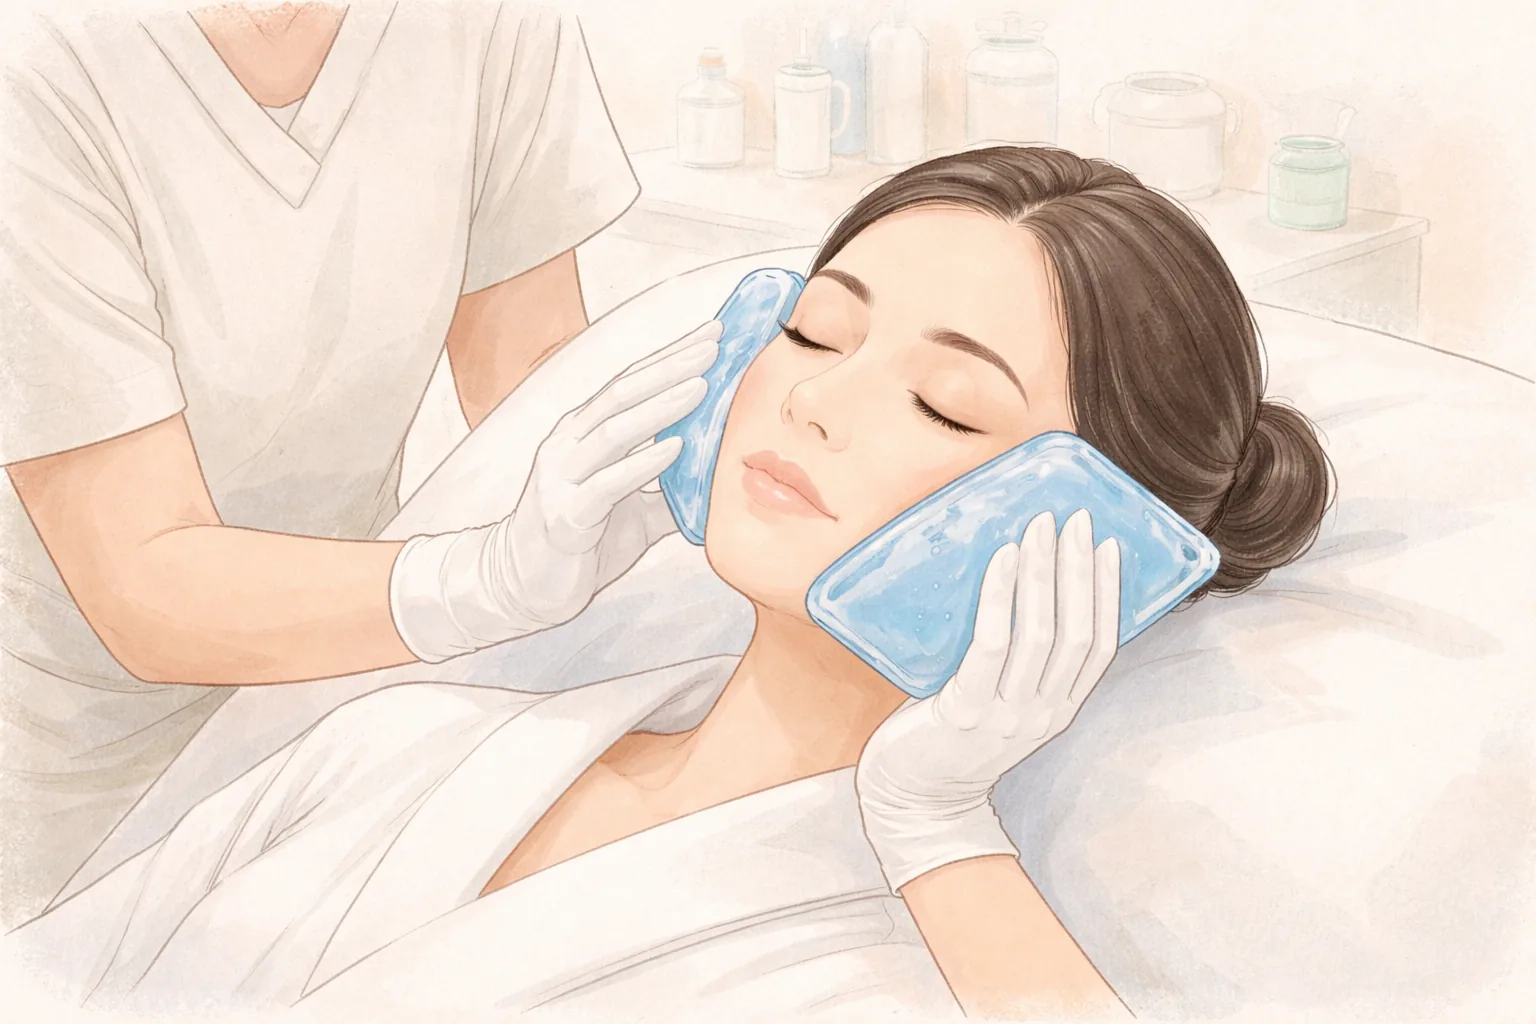
Soothing — Right after the procedure, heat and redness rise. Cool the skin and avoid rubbing it or exfoliating.
Moisturizing — The skin barrier is temporarily weakened and tends to dry out, so apply moisturizer often. Postpone strong exfoliating products until recovery is complete.
Sun protection — To reduce pigment changes, use sunscreen when going out and avoid strong sunlight, saunas, and strenuous exercise for several days.
Checking progress — Watch how swelling and redness settle, and if there's a change different from what you expected, check it rather than waiting for the next scheduled visit.
After a procedure, redness and swelling, tenderness when pressed, and bruising are common and usually settle within a few days. Rarely, temporary pigment changes that darken or lighten the skin, blisters, lumps after injection, burns, or scars can occur. These risks are something you hear explained before the procedure and confirm how they change depending on the procedure and settings. (ATTITUDE Clinic column)
Even with the same procedure, how fast swelling settles and how long irritation lingers differ with skin thickness and regenerative capacity. So rather than setting your recovery schedule identically to someone else's review, use your own skin's response as the standard.
Frequently asked questions
What should I check first when comparing before-and-after photos?
Check the area, the shooting conditions, the time point, and the number of sessions first. You can only place two photos side by side once it's confirmed whether the same area was shot under the same lighting and angle, whether it's right after the procedure or after recovery, and whether it's the result of one session or several. Asking to see cases with a similar skin tone and skin type is another option. Comparing photos with different conditions won't tell you whether the difference comes from the procedure or from the photography. (AAD guidance)
Even if the reviews are good, what should I confirm separately at a consultation?
The results you can expect and the risks, alternatives, the number of sessions needed and how long they take, recovery and when you return to daily life, preparation and aftercare, and cost. Reviews capture satisfaction, but these items are usually missing. You can also ask how much experience the practitioner has with this procedure and how many patients of your skin tone and age range they've treated. Whether anesthesia is used before the procedure and how much pain to expect are also items to confirm. (AAD guidance)
How do I tell promotional reviews from real experiences?
There's no basis to conclude something is fake, but you can gauge it by how specific it is. A post that states the device and volume used, the session number, the time point, points that fell short or side effects, and follow-up visit experience has more useful information. Conversely, a post that emphasizes only results with no explanation of conditions, or one where events or discount information takes up most of the text, gives you less to judge by. It's better to gather several posts and sort what repeats commonly from what's exceptional.
Can I get the procedure on the same day as my first consultation?
Sometimes it's possible depending on your schedule, but pressure to decide that day can cloud your judgment. It's safer to decide after hearing enough at the consultation about risks, alternatives, and recovery time. Booking at ATTITUDE Clinic works as a request and a confirmation being different, and it's confirmed after the clinic contacts you to confirm. (Consultation booking guide) If you're unsure about getting the procedure that same day, ask first whether you can put off the decision until after the consultation. It's safer to calculate your recovery time and next commitment together, decide on a possible treatment date, and then book.
What should I check when choosing a dermatology clinic?
Look at the depth of the consultation rather than the procedure names. The standard is whether they explain which procedure fits the concern you raised, why that order, and what the risks and alternatives are. For cost, confirm the total and VAT, and the conditions under which additional costs arise, and also ask about follow-up visits and aftercare schedules. The reason results diverge even for the same procedure is that skin condition, plan, and the way it's carried out differ from person to person, so a place that explains these differences helps your judgment. (Treatment guide)
At a glance
Table 2 At a glance
Item
Key point
Premise for comparing photos
Same area, same lighting and angle, same time point
Reading reviews
Allow for a distribution where satisfied cases are posted first
What photos don't show
Risks and alternatives, recovery time, additional costs, follow-up visit plan
What to confirm at a consultation
Expected results and risks, sessions and time required, aftercare, total cost
How ATTITUDE Clinic proceeds
AI skin analysis record → doctor consultation → treatment performed by the doctor → recovery and maintenance
What divides results
Skin type and thickness, regeneration speed, combination, order, and intensity, and how the procedure is carried out
This article offers general health information. It is not a substitute for diagnosis or treatment based on your own condition, so please talk through your situation with a doctor.